60pxの市松模様で10行、10列(縦横600px)の画像があったとします。
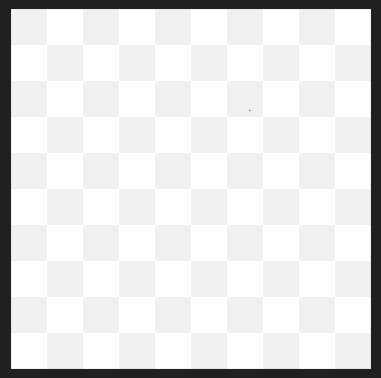
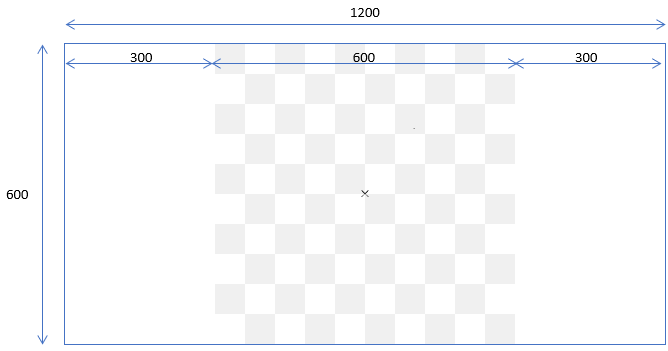
これを中心に配置すると以下のようになります。
./src/main.js
import Phaser from "phaser";
import GameScene from "./scenes/GameScene";

const config = {
    type: Phaser.AUTO,
    width: 1200,
    height: 600,
    parent: 'game-container',
    backgroundColor: '#fff',
    scale: {
        mode: Phaser.Scale.NONE,
        autoCenter: Phaser.Scale.CENTER_BOTH
    },
    dom: {
        createContainer: true
    },
    scene: [
        GameScene
    ]
};

export default new Phaser.Game(config);
./src/scenes/GameScene.js
import { Scene } from 'phaser';

export default class GameScene extends Phaser.Scene {
    constructor() {
        super('GameScene');
    }

    preload() {
        this.load.image("bg", "./assets/bg.png");
    }

    create() {
        const centerX = this.scale.width / 2;
        const centerY = this.scale.height / 2;
        const bg = this.add.image(centerX, centerY, "bg");
        bg.setOrigin(0.5);
    }

    update() {
    }
}
そのうち、左上を基準に、2行、4列(縦120px × 横240px)を表示しようとしてcropを使うと
./src/scenes/GameScene.js
import { Scene } from 'phaser';

export default class GameScene extends Phaser.Scene {
    constructor() {
        super('GameScene');
    }

    preload() {
        this.load.image("bg", "./assets/bg.png");
    }

    create() {
        const centerX = this.scale.width / 2;
        const centerY = this.scale.height / 2;
        const bg = this.add.image(centerX, centerY, "bg");
        bg.setOrigin(0.5);

        const cropX = 0;
        const cropY = 0;
        const cropWidth = 240;
        const cropHeight = 120;
        bg.setCrop(cropX, cropY, cropWidth, cropHeight);
    }

    update() {
    }
}
setOriginはあくまでも全体のサイズにおけるセンターのため、
切り取った部分をセンターにもっていくためには、調整が必要。
./src/scenes/GameScene.js
import { Scene } from 'phaser';

export default class GameScene extends Phaser.Scene {
    constructor() {
        super('GameScene');
    }

    preload() {
        this.load.image("bg", "./assets/bg.png");
    }

    create() {
        const centerX = this.scale.width / 2;
        const centerY = this.scale.height / 2;
        const width = 600;
        const height = 600;

        // 切り取り領域
        const cropX = 0;
        const cropY = 0;
        const cropWidth = 240;
        const cropHeight = 120;

        const bg = this.add.image(centerX + (width - cropWidth) / 2, centerY + (height - cropHeight) / 2, "bg");
        bg.setOrigin(0.5);
        bg.setCrop(cropX, cropY, cropWidth, cropHeight);
    }

    update() {
    }
}
どちらかというと、原点をセンターにするより、左上の位置から調整した方が楽ですね。
create() {
const centerX = this.scale.width / 2;
const centerY = this.scale.height / 2;
// 切り取り領域
const cropX = 0;
const cropY = 0;
const cropWidth = 240;
const cropHeight = 120;
const bg = this.add.image(centerX - cropWidth / 2, centerY - cropHeight / 2, "bg");
bg.setOrigin(0);
bg.setCrop(cropX, cropY, cropWidth, cropHeight);
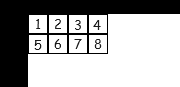
}1つの画像に同一サイズの画像をまとめているのであれば、SpriteSheetを使って切り出してつかうことができます。
↓縦横20pxのデータが8つある。
./src/scenes/GameScene.js
import { Scene } from 'phaser';
export default class GameScene extends Phaser.Scene {
constructor() {
super('GameScene');
}
preload() {
this.load.spritesheet("charList", "./assets/CharList.png", { frameWidth: 20, frameHeight: 20 });
}
create() {
const charList = [];
for (let n = 0; n < 8; n++) {
const row = 20 * Math.trunc(n / 4);
const col = 20 * (n % 4);
const char = this.add.image(col, row, "charList", n);
char.setOrigin(0); // 原点は左上
charList.push(char);
}
}
update() {
}
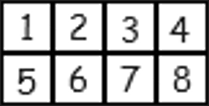
}↓左上から2行4列で表示