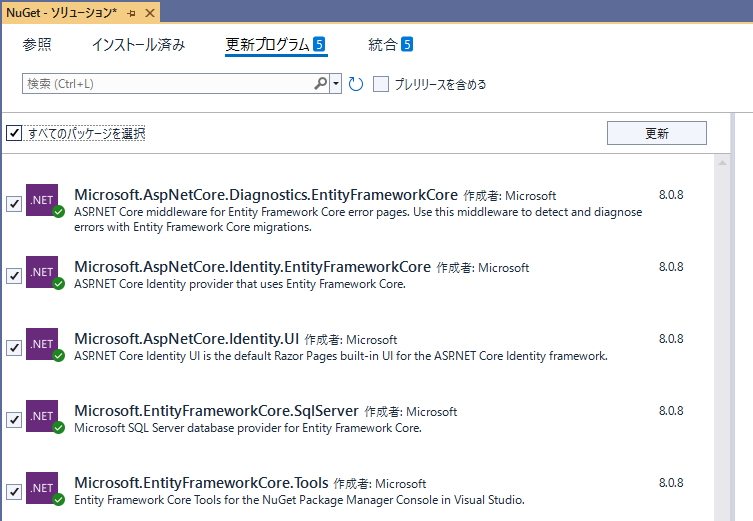
このページでは、下記ページの状態から開始しています
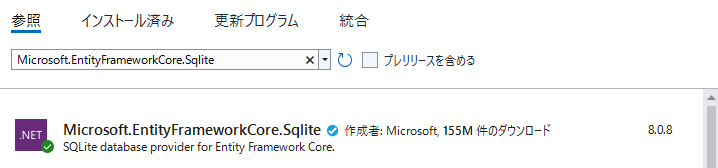
ASP.NET Core Webアプリで、SQLiteを使用して認証用のDBを作成
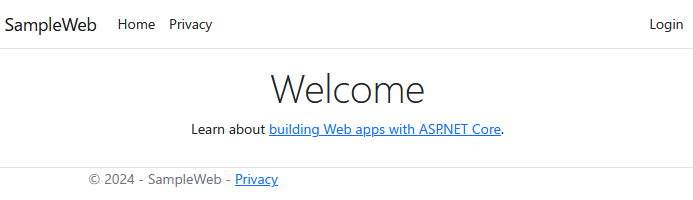
認証を使用したプロジェクトを作成し、そのまま起動するとデフォルトのUIが利用できます。
・認証は個別のアカウント
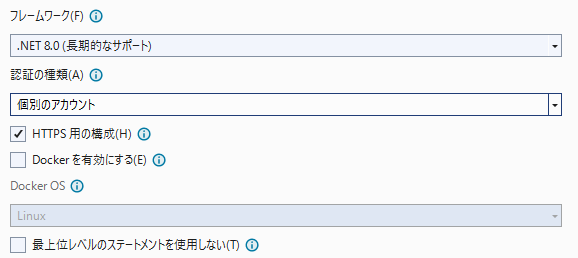
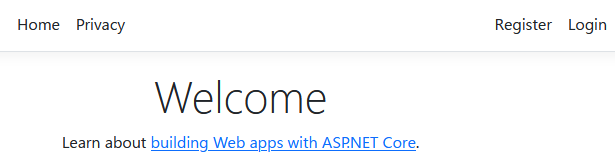
・デフォルトのまま起動すると、登録やログインのリンクあり。
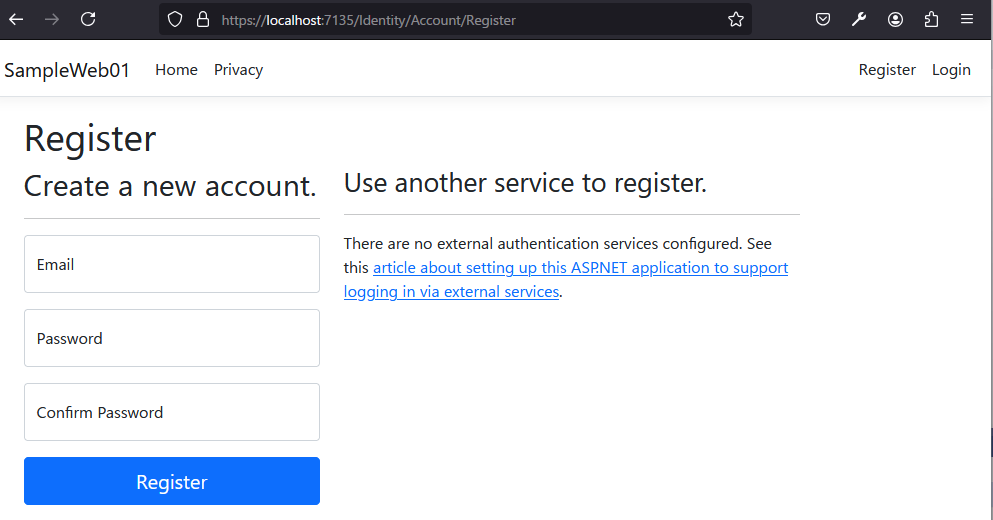
・登録のページ
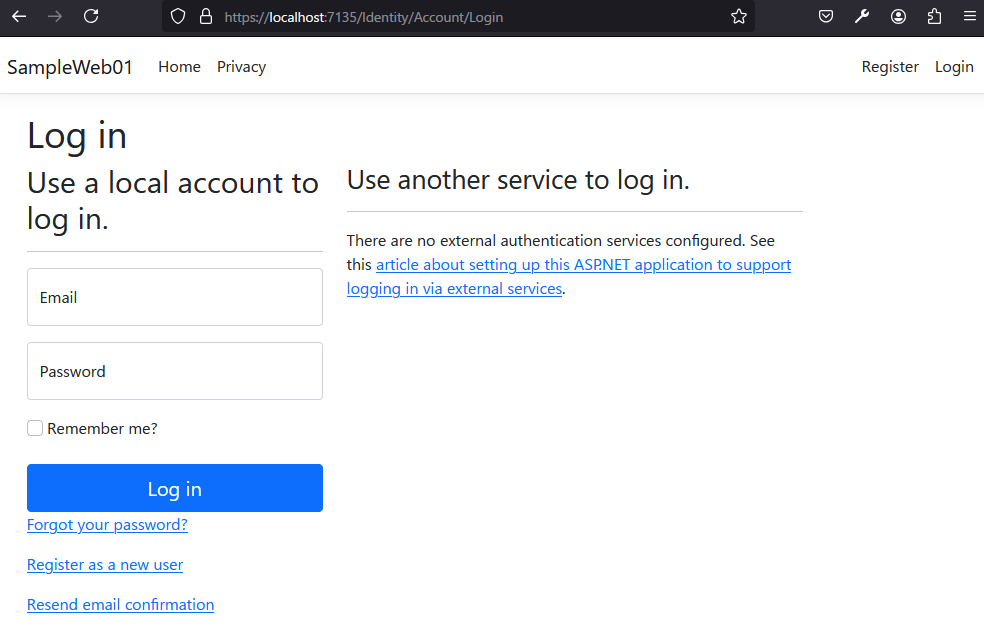
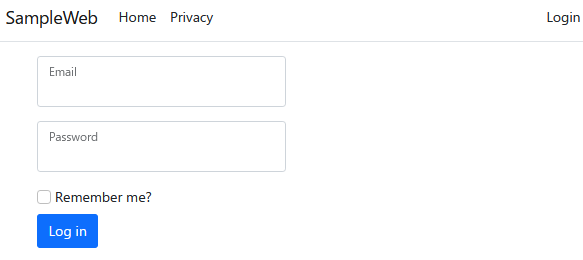
・ログインのページ
個人で利用するブログを作ったとすると、自分が利用するアカウントを登録してしまえば、登録画面は不要でログイン画面だけほしいという話になります。
そのため、起動時にSeedとして初期のアカウントを登録させて、不要なページは program.csファイル内で強制的にリダイレクトかけたりエラーにすることも可能ですが・・・
対応漏れがあると目もあてられないことになりかねないので、デフォルトのUIを無効とし、必要なページだけ設定していきます。
デフォルトのUI
./Program.cs ファイル中でAddDefaultIdentityを利用していることで有効になります。(フレームワークのバージョンにより記載はことなるので要注意)
builder.Services.AddDefaultIdentity<IdentityUser>(options => options.SignIn.RequireConfirmedAccount = true)
.AddEntityFrameworkStores<ApplicationDbContext>();
### デフォルトのUIを無効にする
比較しやすいよう元のコードも残してあります。
./program.cs
using Microsoft.AspNetCore.Identity;
using Microsoft.EntityFrameworkCore;
using SampleWeb.Data;
var builder = WebApplication.CreateBuilder(args);
// Add services to the container.
var connectionString = builder.Configuration.GetConnectionString("DefaultConnection") ?? throw new InvalidOperationException("Connection string 'DefaultConnection' not found.");
builder.Services.AddDbContext<ApplicationDbContext>(options =>
options.UseSqlite(connectionString));
builder.Services.AddDatabaseDeveloperPageExceptionFilter();
//builder.Services.AddDefaultIdentity<IdentityUser>(options => options.SignIn.RequireConfirmedAccount = true)
// .AddEntityFrameworkStores<ApplicationDbContext>();
builder.Services.AddIdentity<IdentityUser, IdentityRole>(options => { options.SignIn.RequireConfirmedAccount = true; })
.AddEntityFrameworkStores<ApplicationDbContext>();
builder.Services.AddControllersWithViews();
var app = builder.Build();
// Configure the HTTP request pipeline.
if (app.Environment.IsDevelopment())
{
app.UseMigrationsEndPoint();
}
else
{
app.UseExceptionHandler("/Home/Error");
// The default HSTS value is 30 days. You may want to change this for production scenarios, see https://aka.ms/aspnetcore-hsts.
app.UseHsts();
}
app.UseHttpsRedirection();
app.UseStaticFiles();
app.UseRouting();
app.UseAuthentication(); //add
app.UseAuthorization();
app.MapControllerRoute(
name: "default",
pattern: "{controller=Home}/{action=Index}/{id?}");
//app.MapRazorPages(); //del
app.Run();
AddDefaultIdentityからAddIdentityに変更しています。
app.MapRazorPages()は、自動でデフォルトページへのマップをするもので、デフォルトページを使わないため不要になります。
また、カスタムページからの認証をおこなうために、app.UseAuthentication()を追加しています。
./Views/Shared/_LoginPartial.cshtml
<li class="nav-item">
<a class="nav-link text-dark" asp-area="Identity" asp-page="/Account/Register">Register</a>
</li>
<li class="nav-item">
<a class="nav-link text-dark" asp-area="Identity" asp-page="/Account/Login">Login</a>
</li>
asp-areaとasp-pageから /Identity/Account/Register や /Identity/Account/Loginというページを生成していましたがこれらの設定に切り替えると設定されなくなります。
before: https://localhost:{ポート番号}/Identity/Account/Login
after: https://localhost:{ポート番号}/?area=Identity&page=%2FAccount%2FLogin
### アカウントの追加
ここでは、起動時にアカウントが存在しなければ追加するようにします。
SeedDataクラスを作成し、追加する処理を記載します。
./Data/SeedData.cs
using Microsoft.AspNetCore.Identity;
using Microsoft.EntityFrameworkCore;
namespace SampleWeb.Data
{
public class SeedData
{
public static async Task Initialize(IServiceProvider serviceProvider)
{
var userManager = serviceProvider.GetRequiredService<UserManager<IdentityUser>>();
var email = "username@example.com";
var user = await userManager.FindByEmailAsync(email);
if (user == null)
{
user = new IdentityUser()
{
UserName = email,
Email = email,
EmailConfirmed = true
};
await userManager.CreateAsync(user, "Password@12345");
}
}
}
}
メールは、 username@example.com パスワードは Password@12345にしてみました。
制約をみたすものでないとDBに追加されません。
- ユーザー名はデフォルトだと日本語はつかえません
- パスワードは、6文字以上数字、大小アルファベット、英数字以外を含む必要があります。
※いうまでもないですが、実際に使用するパスワードを記載してgithubにあげるようなことだけは・・・
次は、SeedDataクラスの呼び出しです。
./program.cs
using Microsoft.AspNetCore.Identity;
using Microsoft.EntityFrameworkCore;
using SampleWeb.Data;
var builder = WebApplication.CreateBuilder(args);
// Add services to the container.
var connectionString = builder.Configuration.GetConnectionString("DefaultConnection") ?? throw new InvalidOperationException("Connection string 'DefaultConnection' not found.");
builder.Services.AddDbContext<ApplicationDbContext>(options =>
options.UseSqlite(connectionString));
builder.Services.AddDatabaseDeveloperPageExceptionFilter();
//builder.Services.AddDefaultIdentity<IdentityUser>(options => options.SignIn.RequireConfirmedAccount = true)
// .AddEntityFrameworkStores<ApplicationDbContext>();
builder.Services.AddIdentity<IdentityUser, IdentityRole>(options => { options.SignIn.RequireConfirmedAccount = true; })
.AddEntityFrameworkStores<ApplicationDbContext>();
builder.Services.AddControllersWithViews();
var app = builder.Build();
// Configure the HTTP request pipeline.
if (app.Environment.IsDevelopment())
{
app.UseMigrationsEndPoint();
}
else
{
app.UseExceptionHandler("/Home/Error");
// The default HSTS value is 30 days. You may want to change this for production scenarios, see https://aka.ms/aspnetcore-hsts.
app.UseHsts();
}
app.UseHttpsRedirection();
app.UseStaticFiles();
app.UseRouting();
app.UseAuthentication(); //add
app.UseAuthorization();
app.MapControllerRoute(
name: "default",
pattern: "{controller=Home}/{action=Index}/{id?}");
// 初期アカウントの追加
using (var scope = app.Services.CreateScope())
{
var services = scope.ServiceProvider;
await SeedData.Initialize(services);
}
//app.MapRazorPages(); //del
app.Run();
最後のほうで、初期アカウントの追加として記載してあります。
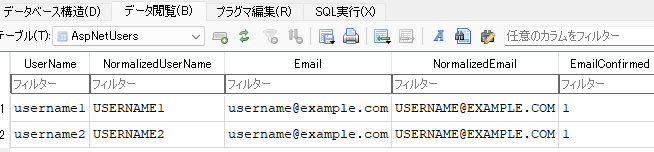
これで、ルールにのっとった、email、username、passwordを指定してあればAspNetUsersテーブルに追加されます。

※SQLiteのクライアントソフトは、DB Browser for SQLiteを使用
ログイン画面
ログイン画面作っていきます
ログインやログアウトの処理はフレームワークに含まれているので、必要なモデルを作成しお作法にのっとって記述していきます。
まずはモデル
./Models/LoginModel.cs
using System.ComponentModel.DataAnnotations;
namespace SampleWeb.Models
{
public class LoginModel
{
[Required]
[EmailAddress]
public string Email { get; set; } = string.Empty;
[Required]
[DataType(DataType.Password)]
public string Password { get; set; } = string.Empty;
[Display(Name = "Remember me?")]
public bool RememberMe { get; set; } = false;
}
}
コントローラー
./Controllers/AccountController.cs
using Microsoft.AspNetCore.Identity;
using Microsoft.AspNetCore.Mvc;
using SampleWeb.Models;
namespace SampleWeb.Controllers
{
public class AccountController : Controller
{
private readonly SignInManager<IdentityUser> _signInManager;
public AccountController(SignInManager<IdentityUser> signInManager)
{
_signInManager = signInManager;
}
public IActionResult Login()
{
return View();
}
[HttpPost]
public async Task<IActionResult> Login(LoginModel model)
{
if (ModelState.IsValid)
{
var result = await _signInManager.PasswordSignInAsync(model.Email, model.Password, model.RememberMe, lockoutOnFailure: true);
if (result.Succeeded)
{
return RedirectToAction("Index", "Home");
}
else
{
ModelState.AddModelError(string.Empty, "Invalid login attempt.");
}
}
return View(model);
}
}
}
Accountコントローラーを追加
ログイン、ログアウトはSignInManagerを扱うのでコンストラクタで追加して保持。
Loginのページ表示(GET)とログイン処理を行う(POST)を作成
ビュー
./Views/Account/Login.cshtml
@model SampleWeb.Models.LoginModel
@{
ViewData["Title"] = "ログイン画面";
}
<div class="row">
<div class="col-6">
<form id="account" asp-controller="Account" asp-action="Login" method="post">
<div asp-validation-summary="ModelOnly" class="text-danger"></div>
<div class="form-floating mb-3">
<input asp-for="Email" class="form-control" autocomplete="username" aria-required="true" />
<label asp-for="Email" class="form-label">Email</label>
<span asp-validation-for="Email" class="text-danger"></span>
</div>
<div class="form-floating mb-3">
<input asp-for="Password" class="form-control" autocomplete="current-password" aria-required="true" />
<label asp-for="Password" class="form-label"></label>
<span asp-validation-for="Password" class="text-danger"></span>
</div>
<div>
<div class="checkbox">
<label asp-for="RememberMe" class="form-label">
<input class="form-check-input" asp-for="RememberMe" />
@Html.DisplayNameFor(m => m.RememberMe)
</label>
</div>
</div>
<div>
<button id="login-submit" type="submit" class="btn btn-primary">Log in</button>
</div>
</form>
</div>
</div>
HTMLはテンプレートとして組み込まれているもののうち、ログインフォーム部分だけとってきています
もともとRazorPageだったので手直ししてあります
呼び出しもとのリンクのURLを直していきます。
./Views/Shared/_LoginPartial.cshtml
@using Microsoft.AspNetCore.Identity
@inject SignInManager<IdentityUser> SignInManager
@inject UserManager<IdentityUser> UserManager
<ul class="navbar-nav">
@if (SignInManager.IsSignedIn(User))
{
<li class="nav-item">
<a class="nav-link text-dark" asp-area="Identity" asp-page="/Account/Manage/Index" title="Manage">Hello @User.Identity?.Name!</a>
</li>
<li class="nav-item">
<form class="form-inline" asp-area="Identity" asp-page="/Account/Logout" asp-route-returnUrl="@Url.Action("Index", "Home", new { area = "" })">
<button type="submit" class="nav-link btn btn-link text-dark">Logout</button>
</form>
</li>
}
else
{
@* <li class="nav-item">
<a class="nav-link text-dark" asp-area="Identity" asp-page="/Account/Register">Register</a>
</li>
<li class="nav-item">
<a class="nav-link text-dark" asp-area="Identity" asp-page="/Account/Login">Login</a>
</li> *@
<li class="nav-item">
<a class="nav-link text-dark" asp-controller="Account" asp-action="Login">Login</a>
</li>
}
</ul>
こちらも比較しやすいように元のソース残してあります。
asp-area、asp-pageを削除して、controllerとactionを指定しただけです
確認のため起動します
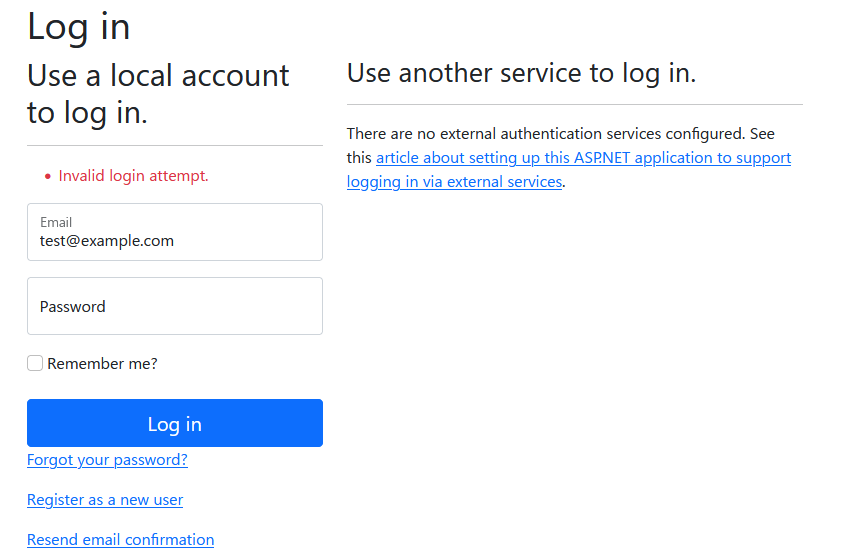
Registerは消えて、Loginのみ。デフォルトのUIは無効にしているので直接URLを入力してもたどりつけません。
ログインのURLは、/Account/Loginになっています。
見た目はほぼいじっていないので、質素な感じですが、最低限のものは表示できています
EmailとPasswordを入力して送信するとログインできます
ログアウト
ログアウトの処理をControllerに追加します
./Controllers/AccountController.cs
using Microsoft.AspNetCore.Identity;
using Microsoft.AspNetCore.Mvc;
using SampleWeb.Models;
namespace SampleWeb.Controllers
{
public class AccountController : Controller
{
private readonly SignInManager<IdentityUser> _signInManager;
public AccountController(SignInManager<IdentityUser> signInManager)
{
_signInManager = signInManager;
}
public IActionResult Login()
{
return View();
}
[HttpPost]
public async Task<IActionResult> Login(LoginModel model)
{
if (ModelState.IsValid)
{
var result = await _signInManager.PasswordSignInAsync(model.Email, model.Password, model.RememberMe, lockoutOnFailure: true);
if (result.Succeeded)
{
return RedirectToAction("Index", "Home");
}
else
{
ModelState.AddModelError(string.Empty, "Invalid login attempt.");
}
}
return View(model);
}
[HttpPost]
[ValidateAntiForgeryToken]
public async Task<IActionResult> Logout()
{
await _signInManager.SignOutAsync();
return RedirectToAction("Index", "Home");
}
}
}
Logout(Post)を追加しました
ログアウトのリンクを修正していきます
./Views/Shared/_LoginPartial.cshtml
@using Microsoft.AspNetCore.Identity
@inject SignInManager<IdentityUser> SignInManager
@inject UserManager<IdentityUser> UserManager
<ul class="navbar-nav">
@if (SignInManager.IsSignedIn(User))
{
<li class="nav-item">
<a class="nav-link text-dark" asp-area="Identity" asp-page="/Account/Manage/Index" title="Manage">Hello @User.Identity?.Name!</a>
</li>
<li class="nav-item">
@* <form class="form-inline" asp-area="Identity" asp-page="/Account/Logout" asp-route-returnUrl="@Url.Action("Index", "Home", new { area = "" })">
<button type="submit" class="nav-link btn btn-link text-dark">Logout</button>
</form> *@
<form class="form-inline" asp-controller="Account" asp-action="Logout" method="post">
<button type="submit" class="nav-link btn btn-link text-dark">Logout</button>
</form>
</li>
}
else
{
@* <li class="nav-item">
<a class="nav-link text-dark" asp-area="Identity" asp-page="/Account/Register">Register</a>
</li>
<li class="nav-item">
<a class="nav-link text-dark" asp-area="Identity" asp-page="/Account/Login">Login</a>
</li> *@
<li class="nav-item">
<a class="nav-link text-dark" asp-controller="Account" asp-action="Login">Login</a>
</li>
}
</ul>
Login同様に、 asp-area、asp-pageを削除して、controllerとactionを追加
postメソッドに飛ばしたいので、postを追加
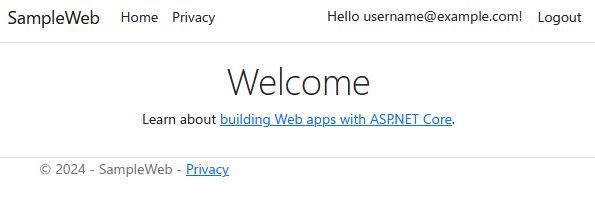
起動して、ログイン→ログアウトができています
おまけ
個人利用のwebアプリとはいえ、パスワードはソースに書きたくない・・・
という場合は、パスワードを入れる部分はデフォルトのUIを一時的に有効にして追加し入れ終わったら無効にするでもよいかもしれないですね。
./program.csは以下の状態にします。
using Microsoft.AspNetCore.Identity;
using Microsoft.EntityFrameworkCore;
using SampleWeb.Data;
var builder = WebApplication.CreateBuilder(args);
// Add services to the container.
var connectionString = builder.Configuration.GetConnectionString("DefaultConnection") ?? throw new InvalidOperationException("Connection string 'DefaultConnection' not found.");
builder.Services.AddDbContext<ApplicationDbContext>(options =>
options.UseSqlite(connectionString));
builder.Services.AddDatabaseDeveloperPageExceptionFilter();
builder.Services.AddDefaultIdentity<IdentityUser>(options => options.SignIn.RequireConfirmedAccount = true)
.AddEntityFrameworkStores<ApplicationDbContext>();
//builder.Services.AddIdentity<IdentityUser, IdentityRole>(options => { options.SignIn.RequireConfirmedAccount = true; })
// .AddEntityFrameworkStores<ApplicationDbContext>();
builder.Services.AddControllersWithViews();
var app = builder.Build();
// Configure the HTTP request pipeline.
if (app.Environment.IsDevelopment())
{
app.UseMigrationsEndPoint();
}
else
{
app.UseExceptionHandler("/Home/Error");
// The default HSTS value is 30 days. You may want to change this for production scenarios, see https://aka.ms/aspnetcore-hsts.
app.UseHsts();
}
app.UseHttpsRedirection();
app.UseStaticFiles();
app.UseRouting();
app.UseAuthentication(); //add
app.UseAuthorization();
app.MapControllerRoute(
name: "default",
pattern: "{controller=Home}/{action=Index}/{id?}");
app.MapRazorPages(); //パスワード登録したらコメントアウト
app.Run();
プログラム実行し、直接登録のURLを実行します
https://localhost:{ポート番号}/Identity/Account/Register
必要な項目を追加して、Registerを実行
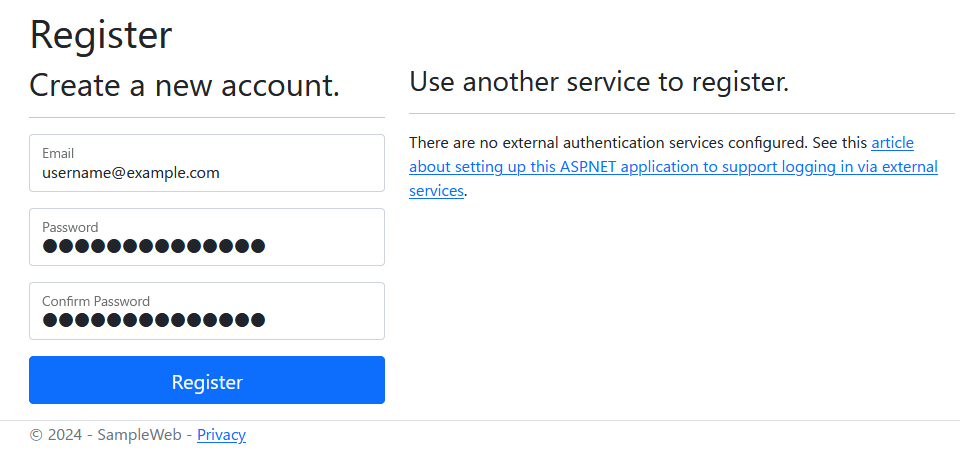
以下ページが表示されます
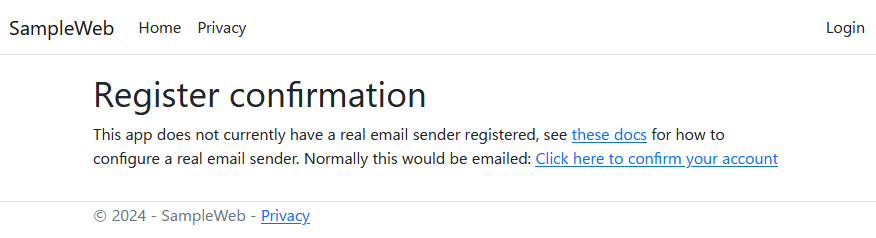
これは、program.csで登録時の認証がデフォルトはtrueになっているものの、メール送信の方法がないから表示されています
./program.cs
builder.Services.AddDefaultIdentity<IdentityUser>(options => options.SignIn.RequireConfirmedAccount = true)
.AddEntityFrameworkStores<ApplicationDbContext>();
※RequireConfirmedAccount = true の部分。falseならメールによる確認を行わない設定
最初アカウントを登録すると AspNetUsersテーブルのEmailConfirmedが0になっています。この状態だとログインできません

登録とどうじにこのメールアドレスにメールを飛ばすことになるのですが、その処理が追加されていないため、このような画面を表示しています
実運用だとメールを飛ばして、そこからリンククリックしてもらい認証完了というところですがそうなっていないためアカウントを有効にすることができないです
ただし、英文をよくよむと
This app does not currently have a real email sender registered, see these docs for how to configure a real email sender. Normally this would be emailed: Click here to confirm your account
メール送信の設定内からこのドキュメントみてねって話と
メールないなら有効にする手段ないから、ここクリックしてねと書いてあります
よって、今回の目的では、リンクをクリックして認証の代わりをするか、設定をfalseにするかのどちらかの対応が必要です
(直接テーブルの値を1に変えても一緒ですが・・・)
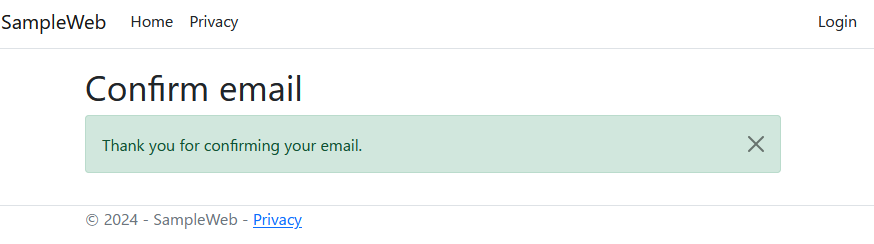
リンクをクリックすると以下画面に遷移し、AspNetUsersテーブルのEmailConfirmedの値が1に代わっていることが確認できます
ここまでできたら、デフォルトのUIをコメントアウトで無効にする でもよいですね。


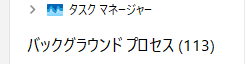
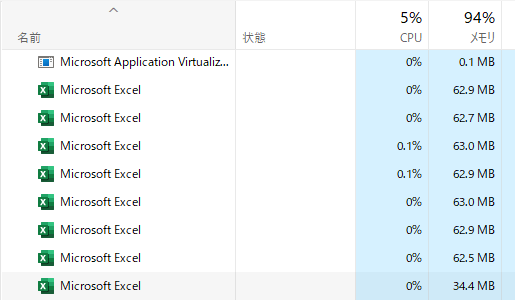

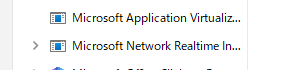 ↑バックグラウンドのプロセス一覧
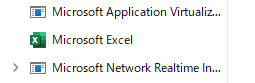
 ↑アプリのプロセス一覧

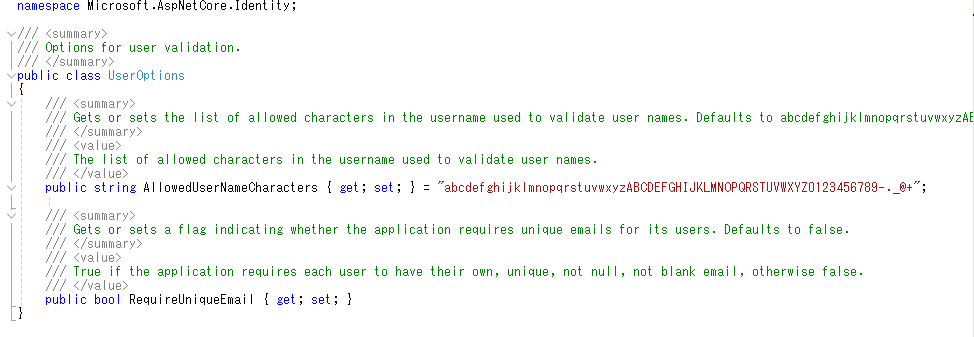 ユーザー名は、AllowedUserNameCharctersに設定されている文字しかつかえないです。つまり日本語はNGです。
RequireUniqueEmailは、ユーザー名とEmailの関係の設定になります
false…ユーザー名は一意となる。同一メールアドレスでも異なるユーザー名が設定可能
true...
デフォルトはfalseです
ユーザー名は、AllowedUserNameCharctersに設定されている文字しかつかえないです。つまり日本語はNGです。
RequireUniqueEmailは、ユーザー名とEmailの関係の設定になります
false…ユーザー名は一意となる。同一メールアドレスでも異なるユーザー名が設定可能
true...
デフォルトはfalseです

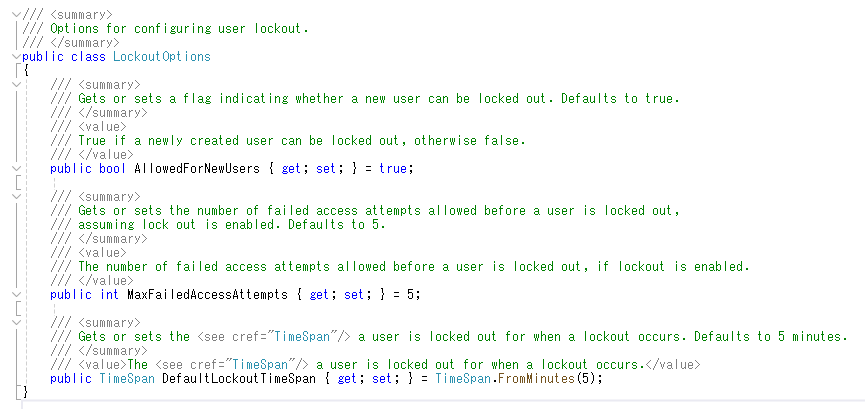
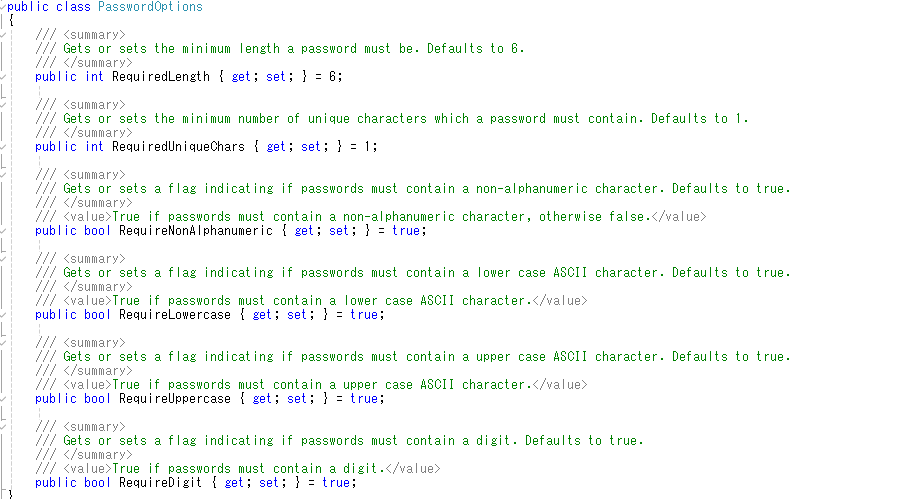 デフォルトの条件は、6文字以上
数字、大文字、小文字、英数字以外をそれぞれ最低1文字含むことが条件
デフォルトの条件は、6文字以上
数字、大文字、小文字、英数字以外をそれぞれ最低1文字含むことが条件